
This post contains affiliate links. If you purchase through my links, I may earn a small commission at no extra cost to you. I only recommend products I have personally tested and genuinely love.
Published July 23, 2026 · Last updated July 23, 2026
The first time I tried liquid eyeliner I ended up with one wing that pointed at the ceiling and one that pointed at the floor.
I wiped it off and wore no eyeliner for about two years. That is a genuinely common way to give up on eyeliner forever.
The problem was never my hands. It was that I started with the hardest format instead of the easiest one.
If you are new to eyeliner, start with a pencil. It is forgiving, you can smudge your mistakes into a look, and you build the muscle memory that makes everything else possible.
This is the companion piece to my guide on how to apply eye shadow for brown eyes, which covers the other half of an eye look. If you want the full face, my dewy full-glam routine shows where liner fits in, and my three favourite mascaras are what I pair with all of this.
What Is Eyeliner?
Eyeliner is a pigment applied along the lash line to define the eyes and make lashes look fuller. It comes in three main formats: pencil, gel, and liquid, each with a different level of control and difficulty. It is most useful for beginners to start with pencil, because mistakes smudge into a soft look instead of ruining the whole eye.
The Short Answer
The best eyeliner for beginners is a pencil, because it is forgiving and easy to correct. Start with a long-wear pencil like the NYX Epic Wear Liner Stick, learn to draw along the lash line, then graduate to liquid once your hand is steady. Gel is the hardest and should come last.
Quick Takeaways
- Start with pencil, not liquid. Always.
- Draw small dashes, then connect them.
- Rest your elbow on a hard surface for stability.
- Line the top lash line before trying a wing.
- Tightlining is easier than a wing and looks natural.
- Cotton bud plus micellar water fixes any mistake.
What This Guide Covers
- Pencil vs Gel vs Liquid: What Is the Difference?
- What Is the Best Eyeliner for Beginners?
- How Do You Apply Eyeliner as a Beginner?
- How Do You Do a Winged Eyeliner for the First Time?
- What Eyeliner Style Suits Your Eye Shape?
- What Mistakes Should Beginners Avoid?
- How Do You Stop Eyeliner Smudging?
- How I Tested These
- Frequently Asked Questions
TL;DR – The NYX Epic Wear Liner Stick is the one I would hand any beginner. It is a pencil, so it is forgiving, but it stays put like a gel, which means your first attempt still looks good at 6pm. Move to the Marc Jacobs Drawn This Way liquid once you can draw a clean line without thinking about it.
One to learn on, one to graduate to. That is genuinely all you need to buy.
Pencil vs Gel vs Liquid: What Is the Difference?
The three formats differ in how much control they give you and how badly they punish a mistake. Beginners should care about the second one.
Pencil
- Difficulty: Easiest
- Finish: Soft, slightly smudgy
- Best for: Learning, everyday, smoky looks
- Fixing mistakes: Easy, smudge it on purpose
- Sharp wing: Hard to get crisp
- Start here if: You have never worn eyeliner
Liquid
- Difficulty: Medium with a pen tip
- Finish: Sharp, glossy, defined
- Best for: Wings and graphic liner
- Fixing mistakes: Harder, dries fast
- Sharp wing: The best format for it
- Start here if: You already draw a steady line
Gel
- Difficulty: Hardest
- Finish: Rich, matte, most pigmented
- Best for: Precision work and pro results
- Fixing mistakes: Medium, but needs a brush
- Sharp wing: Excellent once skilled
- Start here if: You are already comfortable with liquid
Gel liner comes in a small pot and you apply it with a separate angled brush. That extra tool is what makes it hard.
You are controlling pressure, angle, and how much product loaded onto the brush, all at once, on your own eyelid. It gives the most beautiful result and it is the wrong place to begin.
Brands worth knowing when you get there include Bobbi Brown, Inglot, and Maybelline's gel pot, which is the cheapest way to try the format.
What Is the Best Eyeliner for Beginners?
A long-wear pencil is the best eyeliner for beginners, and a fine-tip liquid pen is the right second purchase. These are the two I would actually buy.
A pencil that behaves like a gel. It glides on soft enough to correct in the first thirty seconds, then sets and does not budge for the rest of the day. That combination is exactly what a beginner needs, because you get room to fix mistakes without committing to a liner that smears by lunch.
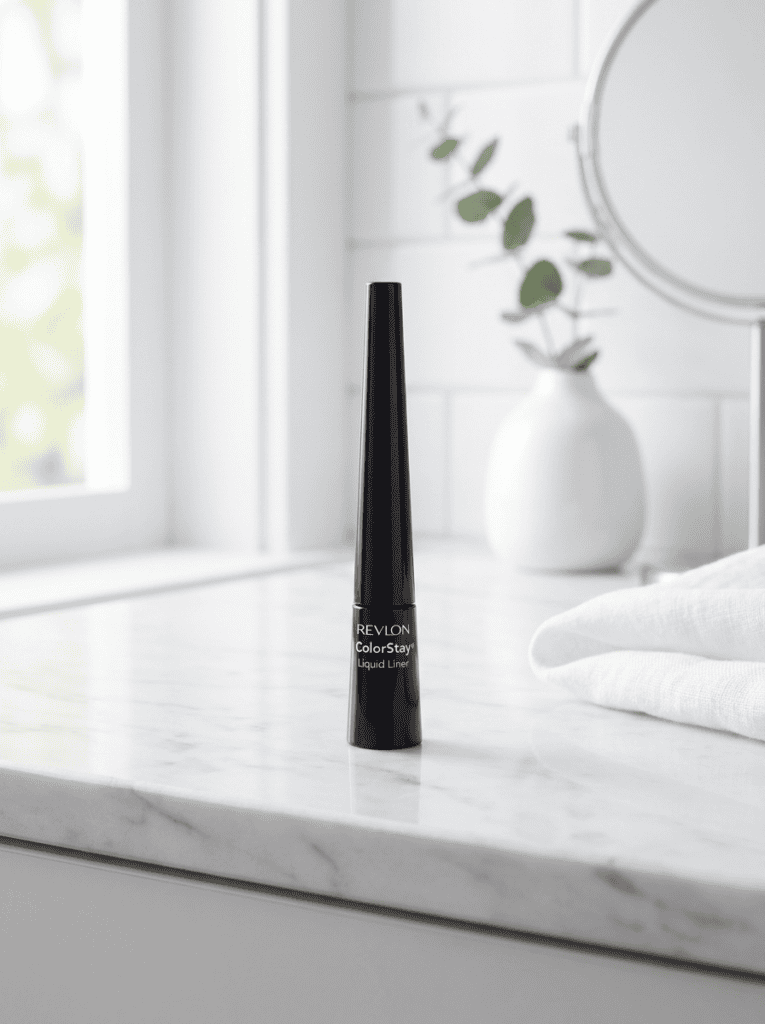
Shop Now →A liquid pen with a fine, firm tip, which is what makes it manageable once your hand is steady. The tip does the work so you are guiding rather than dragging. Buy this second, not first – a liquid liner in an unpractised hand is how people decide they cannot wear eyeliner.
Shop Now →The Marc Jacobs liner is part of the brand's relaunch, which I wrote about in full in my Marc Jacobs Beauty relaunch breakdown. If the price is more than you want to spend while learning, my Marc Jacobs Beauty dupes post covers cheaper versions of their heroes.
How Do You Apply Eyeliner as a Beginner?
Draw small dashes along the lash line, then connect them. Nobody draws a perfect line in one confident stroke, including people who look like they do.
Beginner Eyeliner, Step by Step
-
1
Rest your elbow on a hard surface. A wobbly arm is the actual cause of a wobbly line.
-
2
Look straight into a mirror placed slightly below your eyeline, so you can see your lash line without stretching your lid.
-
3
Start from the middle of the lid and draw a short dash toward the outer corner.
-
4
Add a second dash from the middle toward the inner corner, keeping it thinner.
-
5
Connect the dashes with small strokes, staying as close to the lash roots as you can.
-
6
Go back and thicken the outer third only. Thicker outside, thinner inside is what makes eyes look lifted.
-
7
Clean up any wobble with a cotton bud dipped in micellar water.
Never stretch your eyelid sideways with your finger while you draw. The line looks perfect while stretched and then crinkles the moment you let go.
That single habit causes more bad eyeliner than shaky hands do.
How Do You Do a Winged Eyeliner for the First Time?
Draw the wing before you line the lid, not after. Almost everyone does it the wrong way round and then tries to make the line meet the wing.
Start by imagining a line running from the outside of your nostril, past the outer corner of your eye, up toward the end of your eyebrow. That angle is your wing.
Make a tiny dot where you want the wing to end. Then draw a thin line from that dot back down to your lash line, creating a small triangle.
Fill the triangle in, then connect it to the rest of your lash line.
Keep the first wings small. A short wing that matches on both sides looks far better than a long one that does not.
Two things make matching easier. Do both eyes in the same order at each step, and check them with your eyes open rather than closed.
What Eyeliner Style Suits Your Eye Shape?
Where you place the thickness matters more than the product you use. The same liner reads completely differently depending on placement.
For hooded eyes, keep the liner very thin on the lid and put the weight into a wing that extends beyond the crease. Thick lid liner disappears when your eyes are open.
For round eyes, extend the liner outward rather than upward. That lengthens the eye instead of making it rounder.
For almond eyes, most styles work. A classic thin line with a small wing is the safest bet.
For downturned eyes, lift the outer corner with a wing that angles up sharply and stop the lower lash line early.
For small eyes, skip lining the waterline in black. Tightlining the upper lash line opens the eye instead of closing it in.
Placement logic is the same idea behind shadow placement for brown eyes – you are directing where the eye looks bigger or lifted.
What Mistakes Should Beginners Avoid?
Starting with liquid is the biggest one. It is the least forgiving format and it is where most people quit.
Stretching your eyelid while you draw is the second. Line it in its natural position or the result will not sit right.
Do not line all the way around your eye in a full circle. It closes the eye in and makes it look smaller.
Do not use an old, dried-out pencil. Dragging a hard pencil across your lid is uncomfortable and gives a patchy line.
Do not try to match both eyes perfectly on the first go. They are not identical and chasing symmetry usually ends with two very thick wings.
Do not skip primer on oily lids. Liner migrating into the crease is a base problem, not a liner problem.
And do not put liner on top of an untreated, puffy under-eye and expect it to look crisp – the under-eye creams that actually depuff make more difference to an eye look than people expect.
How Do You Stop Eyeliner Smudging?
Set it. A tiny amount of matching eyeshadow pressed over your liner with a small brush locks it down.
Oily lids are the usual culprit. A dedicated eye primer, or even a little concealer set with powder, gives the liner something dry to grip.
Choose long-wear or waterproof formulas if you have watery eyes or you live somewhere humid. The NYX Epic Wear pick above is specifically built for this.
Avoid heavy eye cream right before makeup. Give it ten minutes to absorb or it will slide everything off.
The FDA has guidance on cosmetics safety worth reading on eye products specifically, since the eye area is where reactions and infections are most common.
Never line your waterline and expect it to last. The waterline is wet by definition and even waterproof formulas move there.
How I Tested These
I have worn eyeliner most days since 2019 and I taught myself entirely from the beginner stage described in this post.
For this piece I went back to basics deliberately. I spent two weeks in July 2026 applying each liner with my non-dominant hand as well, to see which formats were genuinely forgiving versus which just felt easy once you already know how.
That test was clarifying. The NYX pencil was the only one that produced a wearable line with my left hand.
I judged each on three things: how easily a mistake could be corrected in the first minute, how the line looked after eight hours in LA heat, and whether it migrated into my crease.
I have hooded-ish lids and slightly oily eyelids, which is the combination most likely to make liner transfer. If it survives on me it will survive on most people.
Frequently Asked Questions
What is the best eyeliner for beginners?+
Should beginners use pencil, gel, or liquid eyeliner?+
How do you apply eyeliner if your hands shake?+
How do you do winged eyeliner for the first time?+
Why does my eyeliner smudge into my crease?+
What eyeliner is best for hooded eyes?+
Should you line your waterline as a beginner?+
How do you fix an eyeliner mistake?+
How long does it take to learn eyeliner?+
Is liquid or pencil eyeliner better for everyday?+
Do you put eyeliner on before or after eyeshadow?+
Can you use eyeliner on your lower lash line as a beginner?+
The Bottom Line
Buy the pencil first. Give it two weeks before you even think about liquid.
Nobody is born knowing how to draw a line on their own eyelid. It is a skill, and skills are just repetition.
The reason I care about this one is that eyeliner is where a lot of people decide makeup is not for them. One bad wing at seventeen and that is the story you tell yourself for a decade.
It is not a talent thing. You were handed the hardest tool first and nobody told you there was an easier one.
Buy the pencil. Give it two weeks. Let the first attempts be bad, because they are supposed to be.
When you want to build the rest of the look around it, my eye shadow guide for brown eyes is the natural next step, and the Charlotte Tilbury dupes post covers affordable versions of the products that usually go with it.
Sources & Further Reading
Keep Reading on Layers of Beauty
Jasmine Del Toro | LA Lifestyle Blogger
I'm Jasmine Del Toro, a Los Angeles-based lifestyle blogger who tests beauty products, wellness trends, and everyday solutions in real life. I taught myself eyeliner from scratch after giving up on it entirely in my teens, so I know exactly which format makes a beginner quit and which one makes it click. I share what actually works, what doesn't, and what you need to know before spending your money. My approach is practical, honest, and based on personal experience living in LA.
This post may contain affiliate links – I only recommend products I have personally used and believe in.